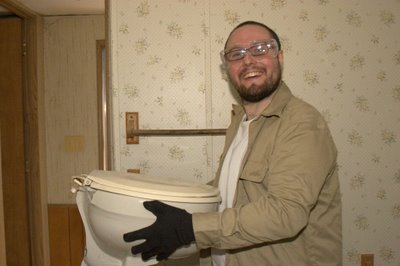
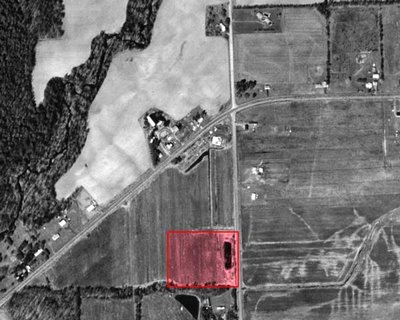
Before

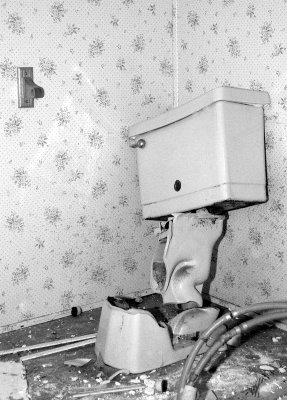
After
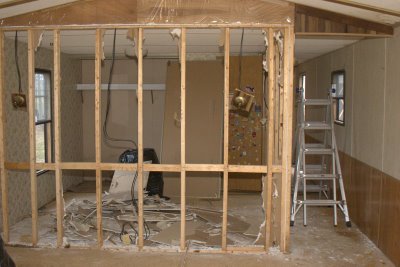
We spent our first day working on the trailer yesterday. I think that it turned out to be a very productive day. We got all of the carpet torn out of it and then ended up taking two walls down. Here is the step by step play of our first day of demo.
The first order of business was to remove all of the vent covers from the floor that we would be working on. There turned out to only be four of them that were in our way, and I think there might only be six in the whole trailer. They are pretty easy to find because there is only one long straight duct that runs under the middle of the trailer.

The next step was to start cutting the carpet into more manageable sizes. We did this with simple utility knives. The carpet was pretty old and threadbare so it cut pretty easily. Unlike a normal house where the carpet is attached to tack strips that run along the edge of the room, the carpet in our trailer seemed to run completely under the walls. This made it a little more difficult to remove because we had to cut the carpet along the edges of the walls. The padding under the carpet was completely disintegrated in some areas, but in other areas it was pretty intact.
As we cut the carpet into smaller sections we began pulling those sections up from the floor and either wading them up or putting them into trash bags. I wore a ventilator for this entire process because I imagine that the crud coming out the carpet is not very good for the lungs. It also helped with the various odors that had been hibernating under that carpet for who knows how long. All in all it took a little under 3 hours to get all of the carpet pulled up off of the subfloor.
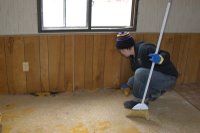
After all of the carpet was up we got to take a better look at the subfloor. For the most part it looked to be in pretty good shape, but there were definitely a few problem areas. The subfloor under almost all of the windows shows significant water damage. We will probably have to replace sections of the subfloor underneath all of the windows. There was quite a bit of cat urine damage to the subfloor in the hallway, so we will be replacing sections there as well. The largest section of damage to the subfloor was the area right behind the bathtub. The subfloor there was almost completely disintegrated. It looks like we will be doing a major renovation the bathroom and subfloor surrounding it.
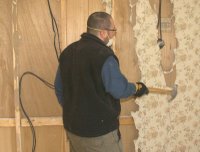
That was all of the work we had planned to do yesterday, but it turn we were done with it so we moved onto the next step... demoing the walls of the spareed out to still be light when bedroom. This was probably the most enjoyable part of working on the trailer yesterday. It turns out to be a lot of fun to knock down walls that are covered in hideously patterned wallpaper on one side and cheap tacky wood paneling on the other. The demoing began as simply curiosity of how the electric was run through the walls. We are planning on putting up a kind of half wall area that will contain the office but still make the living room seem larger, and I was wondering how the electric would have to be run into this half wall area. The next thing we know we have torn a whole wall down and started on another.
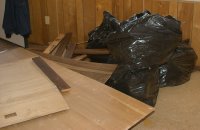
After we got the drywall and paneling off of both of the wall in what was once the spare bedroom, it was getting kind of late so we started the cleanup process. This consisted of putting all of the carpet in to garbage bags, and piling all of the wall debris out away from the areas of water damage on the subfloor. Then we packed up all of the tools into the van and headed out.
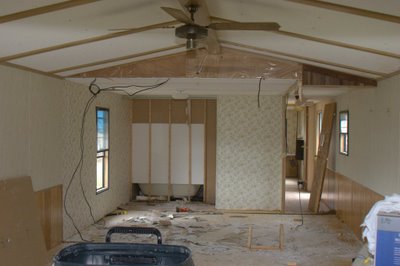 this is what things basically looked like when we first got started on Saturday morning
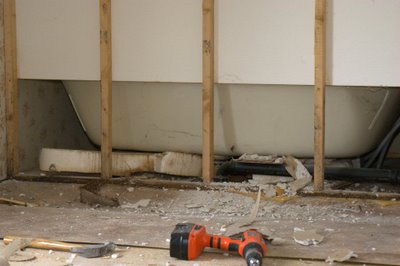 yup that's right, the tub was being supported by Styrofoam.
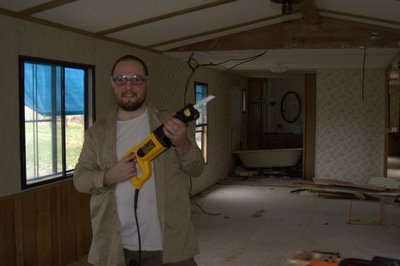 breaking out the reciprocating saw
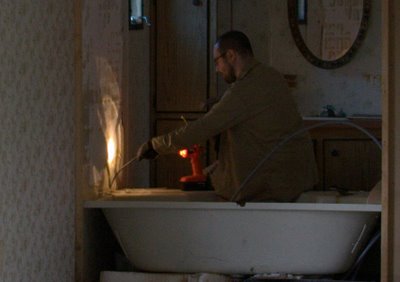 this tub just does not want to come out
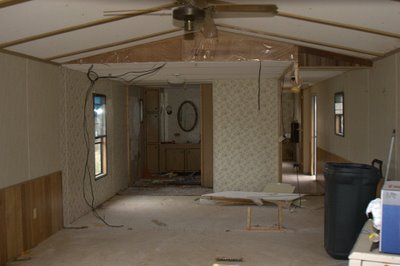 finally the tub is out and things are looking a little better
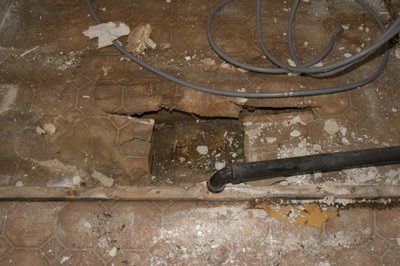 as you can see the floor under the tub leak is not looking good
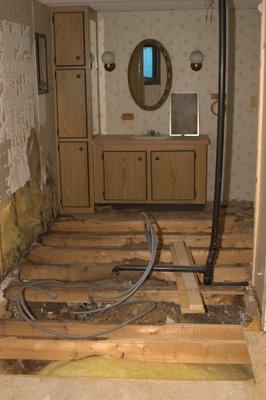 so we took it all out
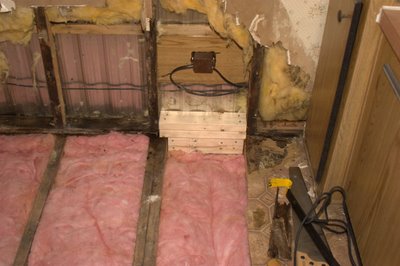 there was even a place in the wall that was rotten so I made a brace for it.
 bathroom floor with new insulation
 this is a tool that I made from a hacksaw blade and two blocks of wood. I needed it to cut out the bottom of the toilet.
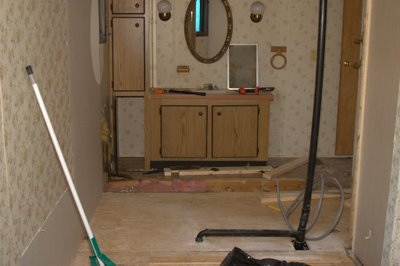 this is the bathroom with some of the new floor in place
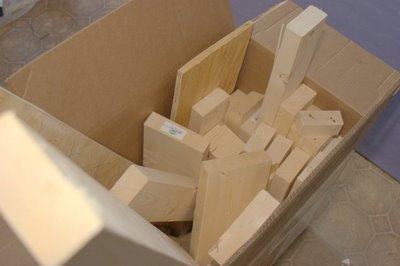 a box of left over wood scraps
 the inside of the bathroom after the new walls went up.
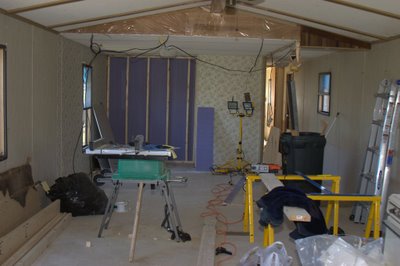 this is how we left it yesterday
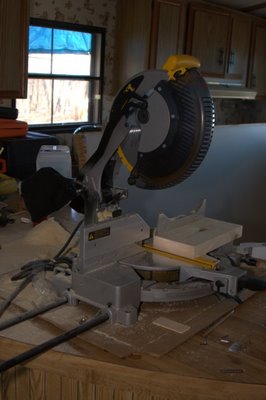 I love my miter saw
